
In Stage 2, Step 2 you learned the system. That covered the four layers, the insert card, and the rule that every element gets costed into your price. This module is the sourcebook behind that step. You will find out what to buy at each budget, how to go gift-ready and eco-friendly properly, what packaging means for a digital seller, and where to buy it all.
Packaging on three budgets
Good packaging is a design decision before it is a spending decision. Every tier below can look intentional, as long as the elements match your brand kit.
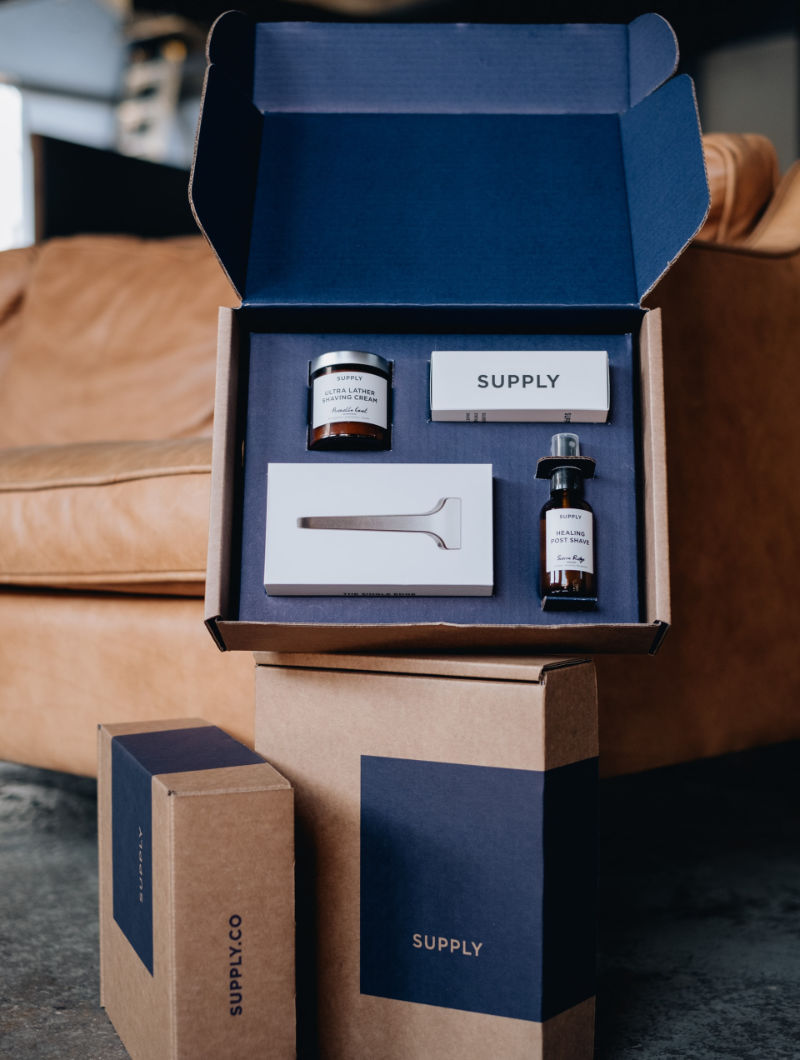
The starter tier, at cents per order. Use plain kraft boxes or rigid mailers. Add one colour of tissue paper from your brand palette. Seal the parcel with a sticker printed with your logo, and include your insert card. Kraft plus one consistent accent colour reads as deliberate minimalism rather than cheapness. Most shops should start here, because this tier proves the system before you scale up the spend.
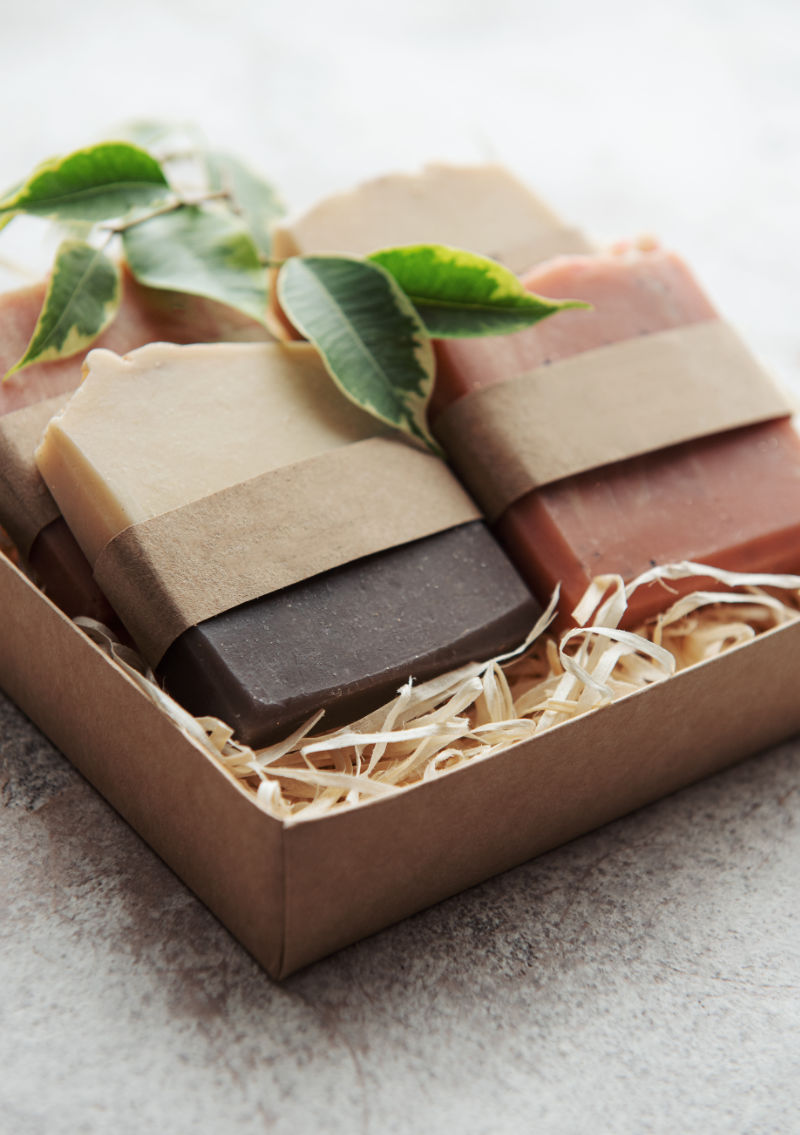
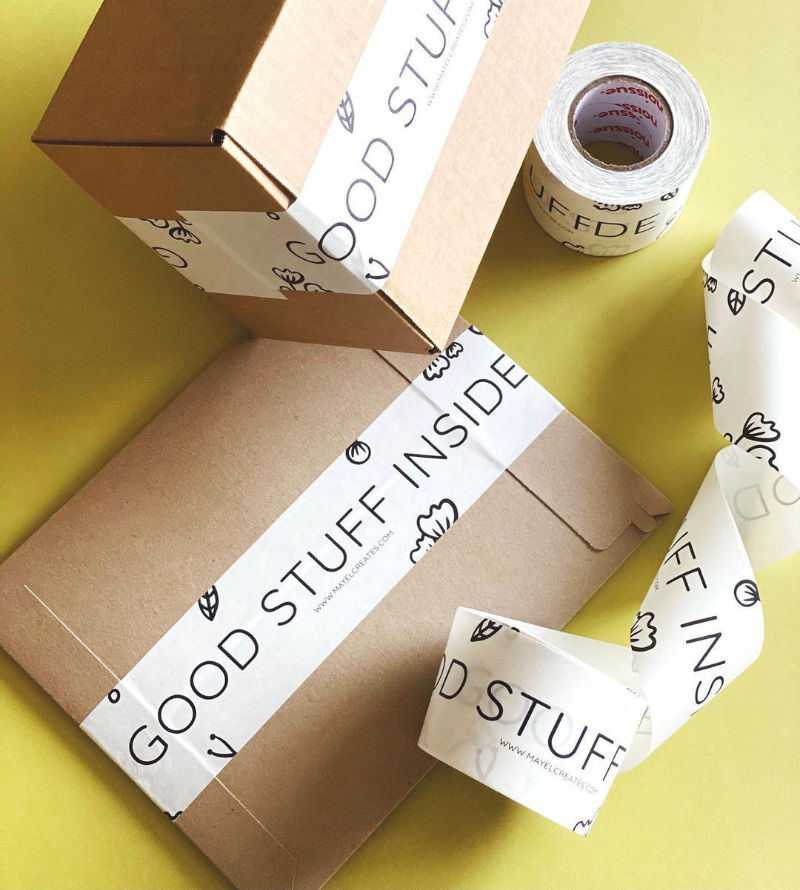
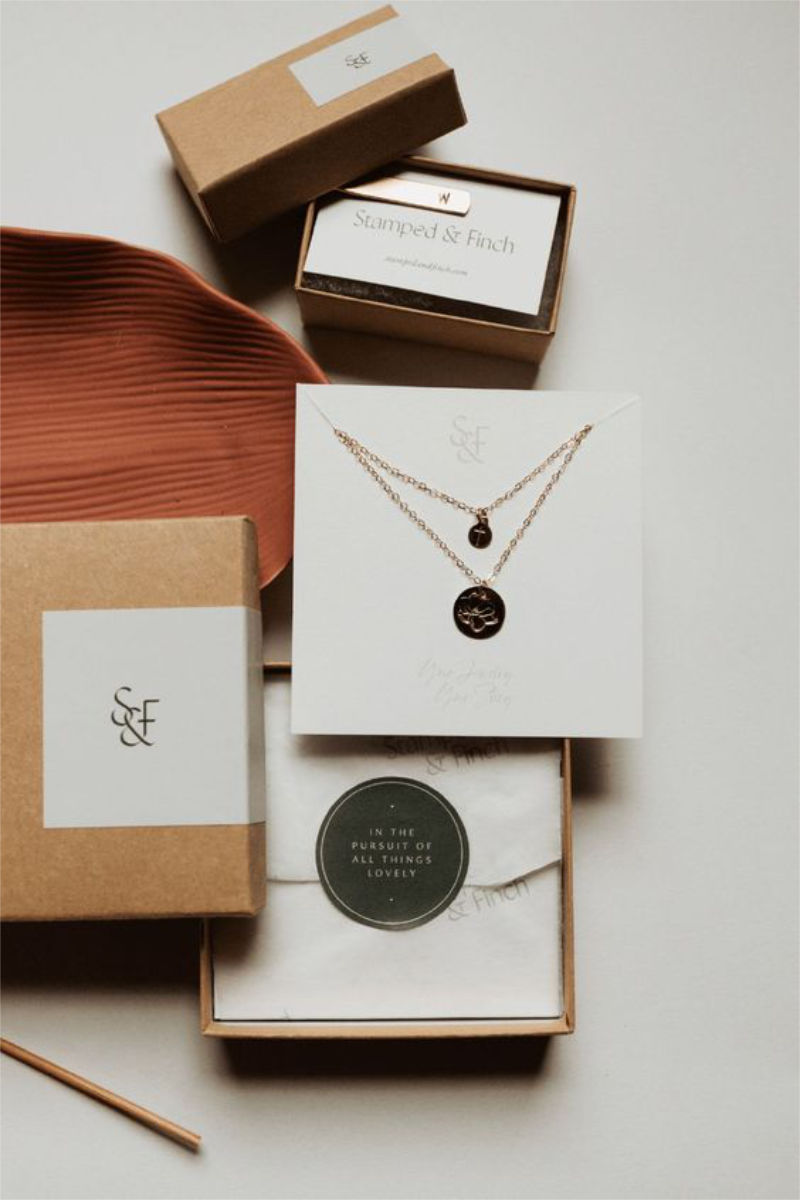
The middle tier. Here you add custom-printed stickers and tape, double tissue in two of your brand colours, a printed thank-you card, and ribbon or twine. Buy branded mailers in bulk once your volume justifies the minimum order. This is the sweet spot for most established handmade shops. It is unmistakably branded, and it is still fast to pack.
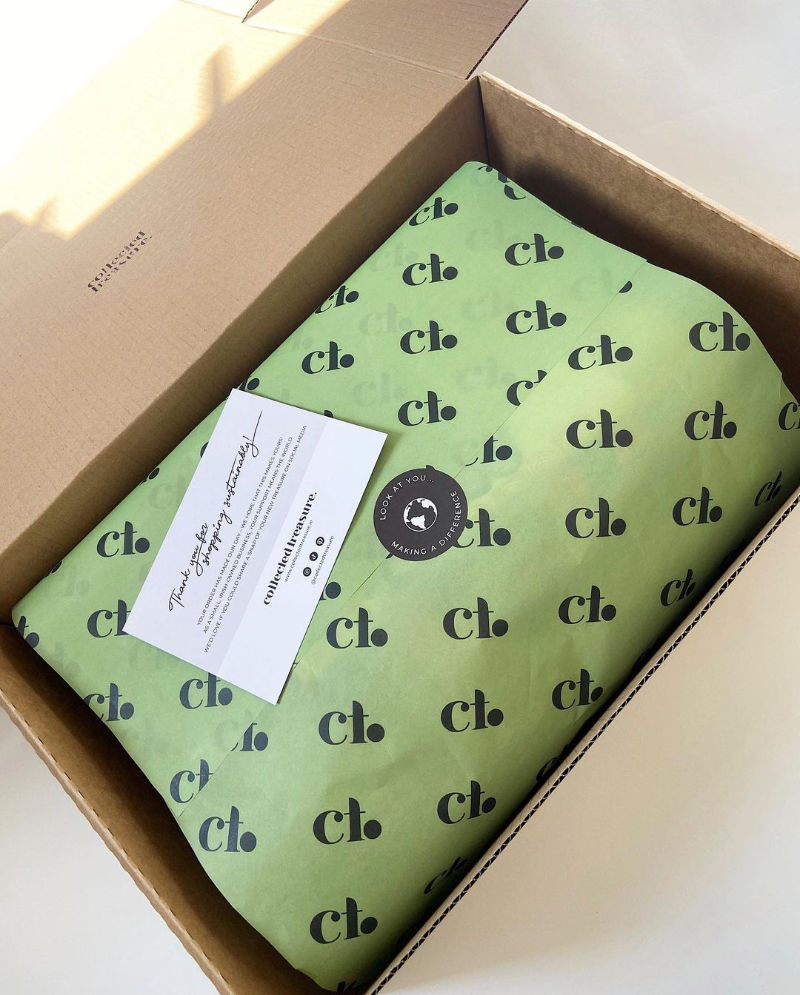
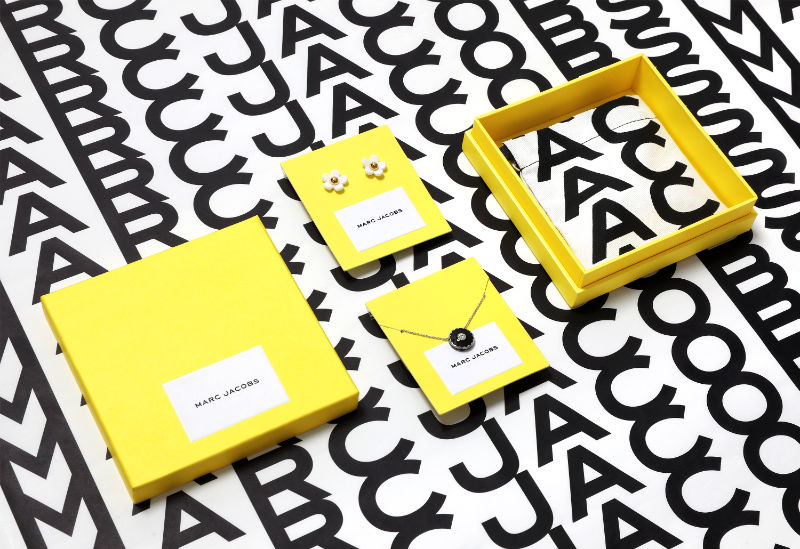
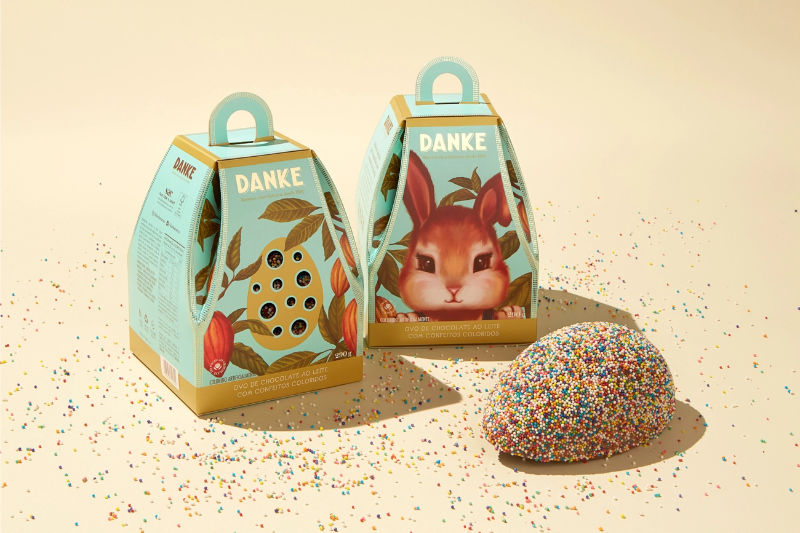
The premium tier. This tier uses custom-printed boxes, tissue printed with your own pattern, wax seals or fabric wraps, and a magnetic or rigid gift box for your flagship pieces. Save it for products whose price can carry it. The rule from Stage 2 always applies. The cost of your packaging has to fit inside your margin. It must never wipe your margin out.

Two cost disciplines apply at every tier. First, buy in sensible bulk once a design has proven itself, because your unit costs will often halve. Second, standardise on as few box sizes as your range allows. Every extra size means more inventory, more shelf space, and more postage complexity.
Gift-ready packaging
A large share of handmade purchases are gifts, and gift buyers pay for presentation. Gift-ready means the parcel could be handed over exactly as it arrives. It is wrapped or boxed beautifully, no pricing is visible, and there is a gift note option.
Here is your working checklist.
- Offer a gift message field, and hand-write the message yourself.
- Never include the invoice in a gift order. Say so in your listing, because buyers actively search for this.
- Consider adding a "ship directly to the recipient" note in your FAQs.
- Photograph your gift presentation for your gallery. A packaging photo converts gift buyers better than any sentence you could write.
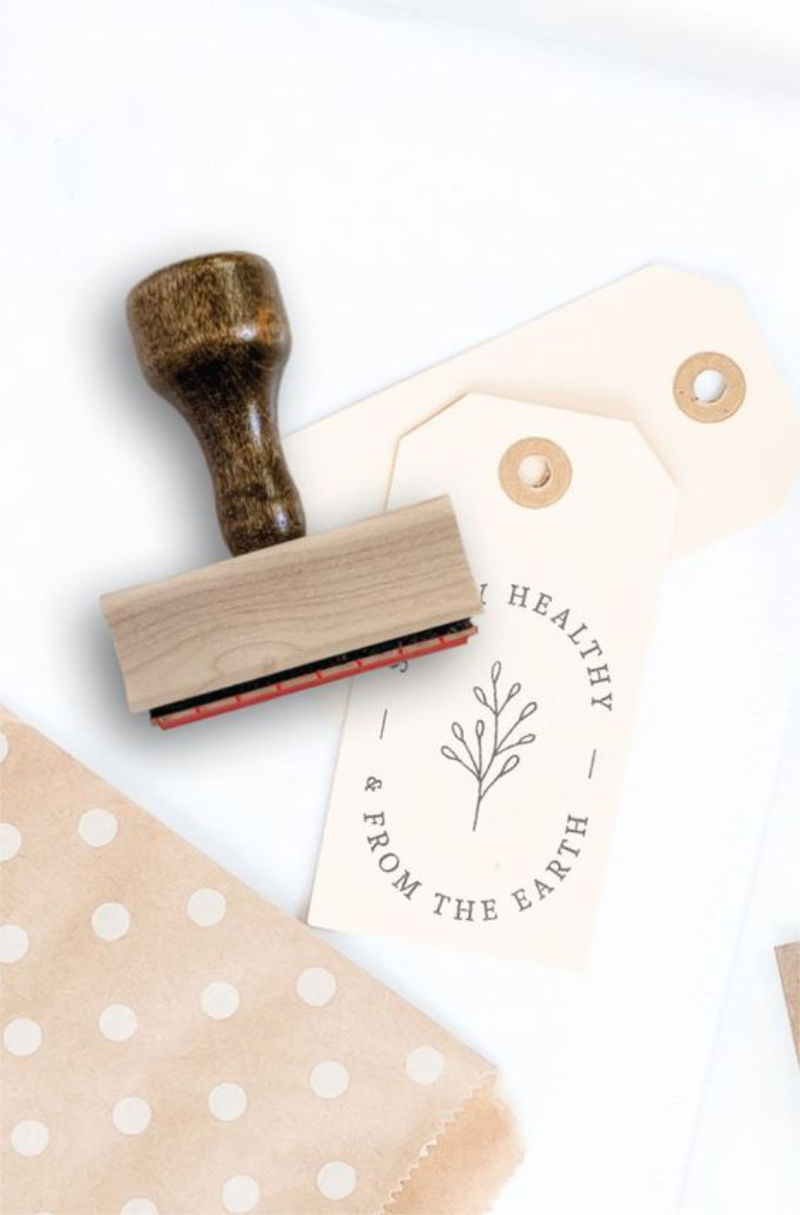
In Q4, add a small seasonal touch like a sprig or a stamped tag. It makes the same box feel like a limited edition.
Eco-friendly packaging
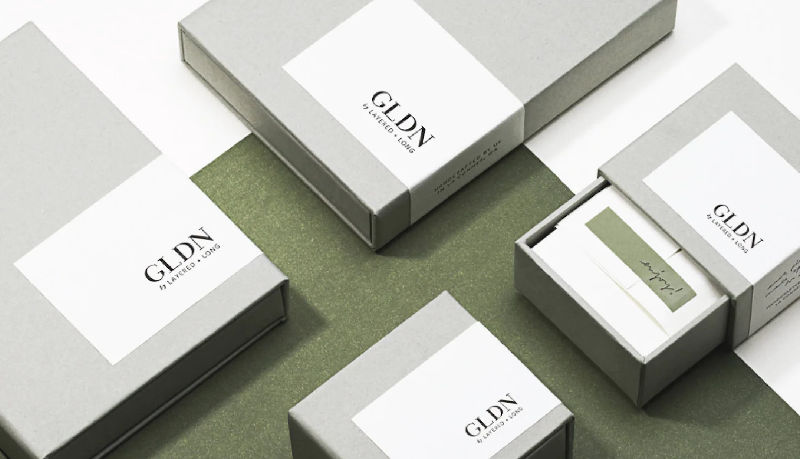
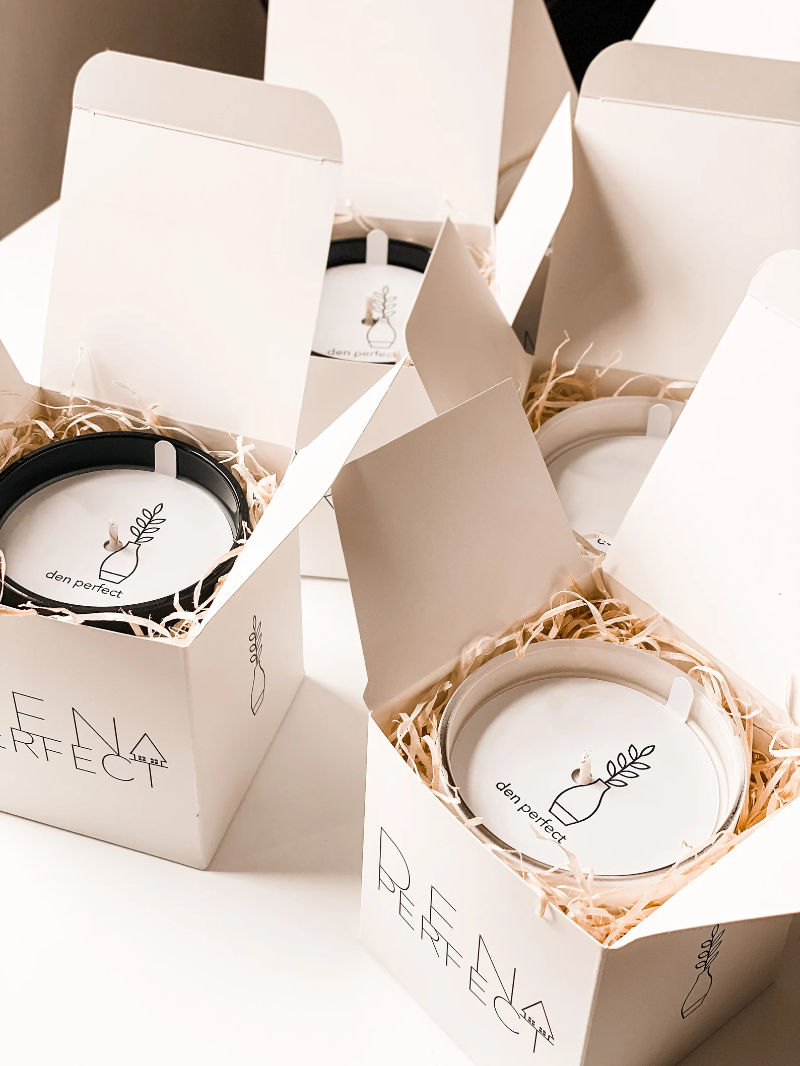
Sustainability matters to a growing share of handmade buyers, and in some niches it decides the sale. Here are the practical swaps. Use recycled and recyclable kraft everywhere it works. Choose paper tape instead of plastic. Use compostable mailers for soft goods. Swap bubble wrap for shredded paper or starch peanuts wherever protection allows. Print with soy-based inks.
Two rules keep this honest and effective.
First, protection is still important. An eco mailer that lets a ceramic piece break creates far more waste than the bubble wrap would have. If your work is fragile, pair a recycled outer with the protective inner it genuinely needs.
Second, if you have done the work, say so where people can see it. Put a one-line "recyclable packaging" note on your insert card, and mention it in your listing. That turns your values into a selling point, and it gives you a Show Your Work post too.
Digital packaging
If you sell digital products, the download experience is your version of a parcel, and it deserves the same design attention. This section expands on Digital Seller Note 2.
There are four elements to get right:
The first is file organisation that explains itself. Use sensible file names, and sort your folders by format. The second is a branded "start here" PDF. It should welcome the buyer and show them how to use or print what they bought. The third is a small unexpected bonus file. The fourth is your insert card, which for you is a page inside the files. Write a warm thank-you, add a review prompt, and include a link or QR code to your shop and your email list.
Build each of these once, and they will ship with every order from then on.
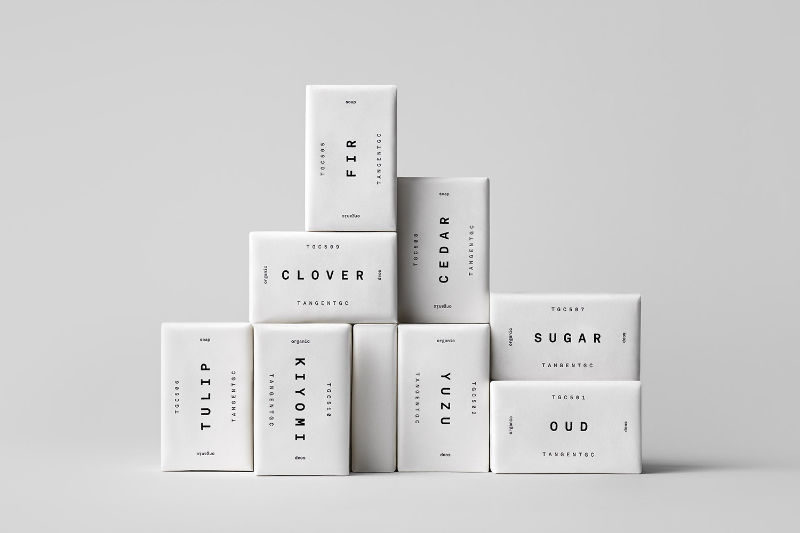
Some Packaging examples
How to find your supplier
- Boxes and mailers. Try local packaging wholesalers first. Freight on boxes is brutal, so local usually wins in terms of costs. Then look at the large online packaging suppliers in your region for bulk kraft basics.
- Custom-printed stickers, tape, tissue, and mailers. The maker-focused custom printers, meaning noissue and companies like it, will do low minimums. Use a general custom-print service for larger runs.
- Tissue, ribbon, twine, and filler. Look at craft wholesalers and bulk marketplaces. Buy your brand-palette colours in bulk once you have proven them.
- Insert cards and thank-you cards. Design these in Canva using your Toolbox templates. Print them locally or through an online print service. Card stock of 300gsm or heavier feels premium in the hand.
- Wax seals and speciality touches. Buy these from speciality craft suppliers. Buy small quantities until a design earns its place.
- Digital sellers. Your suppliers are Canva for the start-here PDF and your own file organisation habit. Both are free.