Setting Up Midjourney
First things first, you'll need to join Midjourney's official Discord server. You can do this by clicking here.
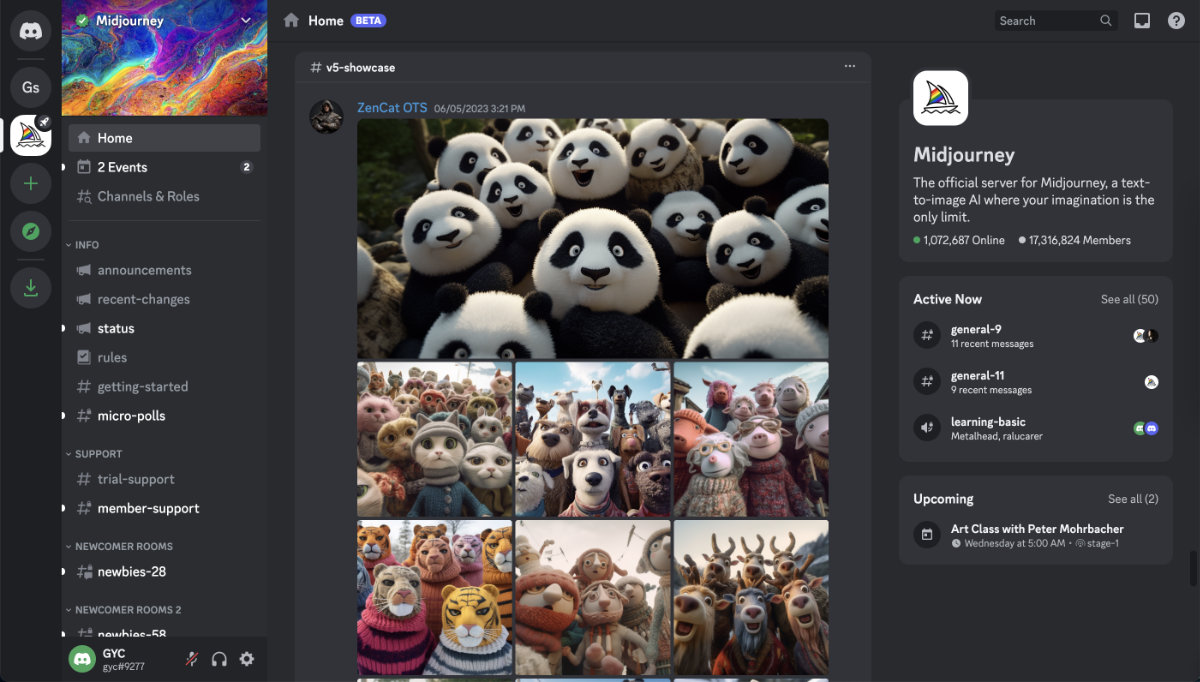
Midjourney operates through Discord, a chat forum-style platform where users can interact with the Midjourney bot to generate their artwork.
Choosing The Right Subscription
If you want to sell your artwork or use it in your shop, you’d need the right subscription for Midjourney.
They offer a free tier, but keep in mind that images generated with a free account cannot be sold due to usage rights. Only paid plans come with a commercial license, which grants you the right to sell the images you generate.
So, if you're just looking to experiment and get a feel for how to use Midjourney, feel free to start with the free tier. You can do this by signing up and heading over to any #General or #Newbie channels on the left.
However, if you're ready to dive in and start creating images for commercial use, you'll need to subscribe to one of the paid plans. To do this:
- In the prompt box under any channels, type /subscribe
- Midjourney will generate a personal link for you
- Follow the instructions and choose your subscription plan
At the time of writing, paid plans start at $10/month. And the lowest paid plan is enough for most Etsy sellers.

Basic Controls Of Midjourney
Now that you have set up your account and chosen a subscription, it's time to start generating!
You can start generating images by typing a "prompt" in any #General or #Newbie channels. A prompt is a short description that Midjourney interprets to produce an image.
For Midjourney, you use the /imagine command to generate an image. (Pro tip: You can simply type /i and press enter to autofill the /imagine command.)

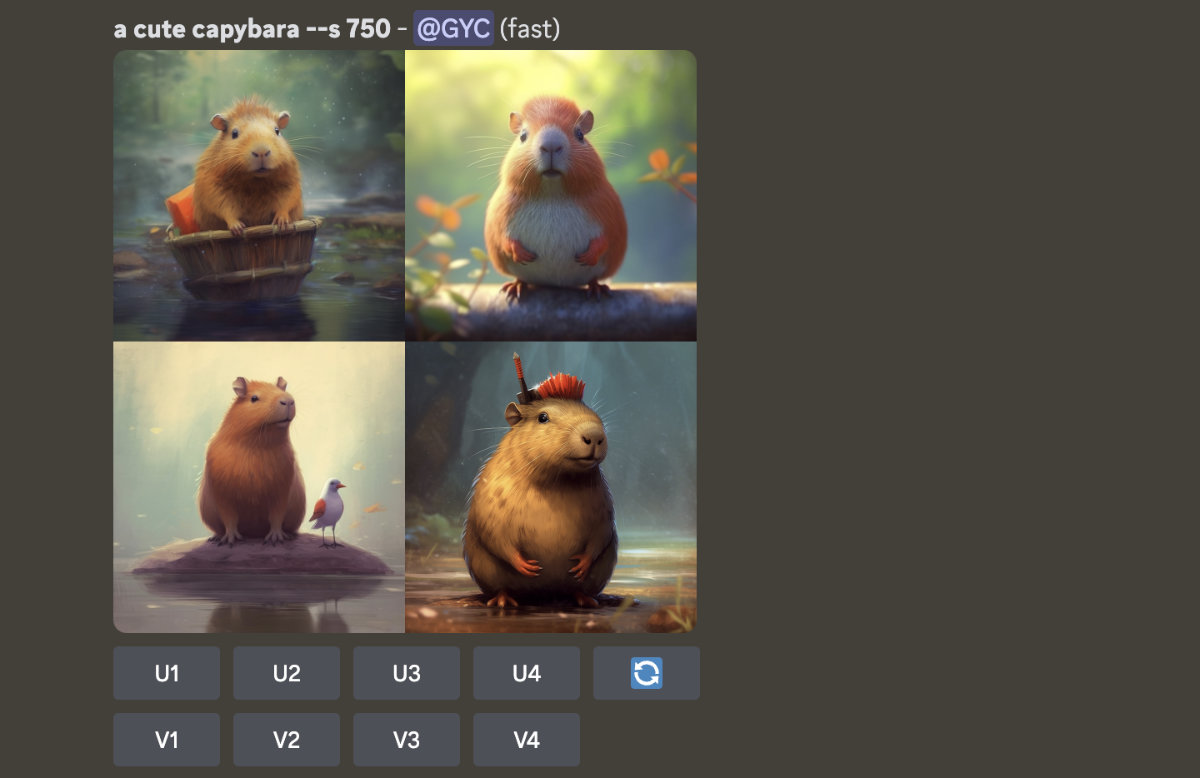
As a beginner, you might find it challenging to write high-quality prompts. Don't worry – we'll be going over this in detail later in the course. For now, let's start with something simple like /imagine a cute capybara:

Upscale & Variations
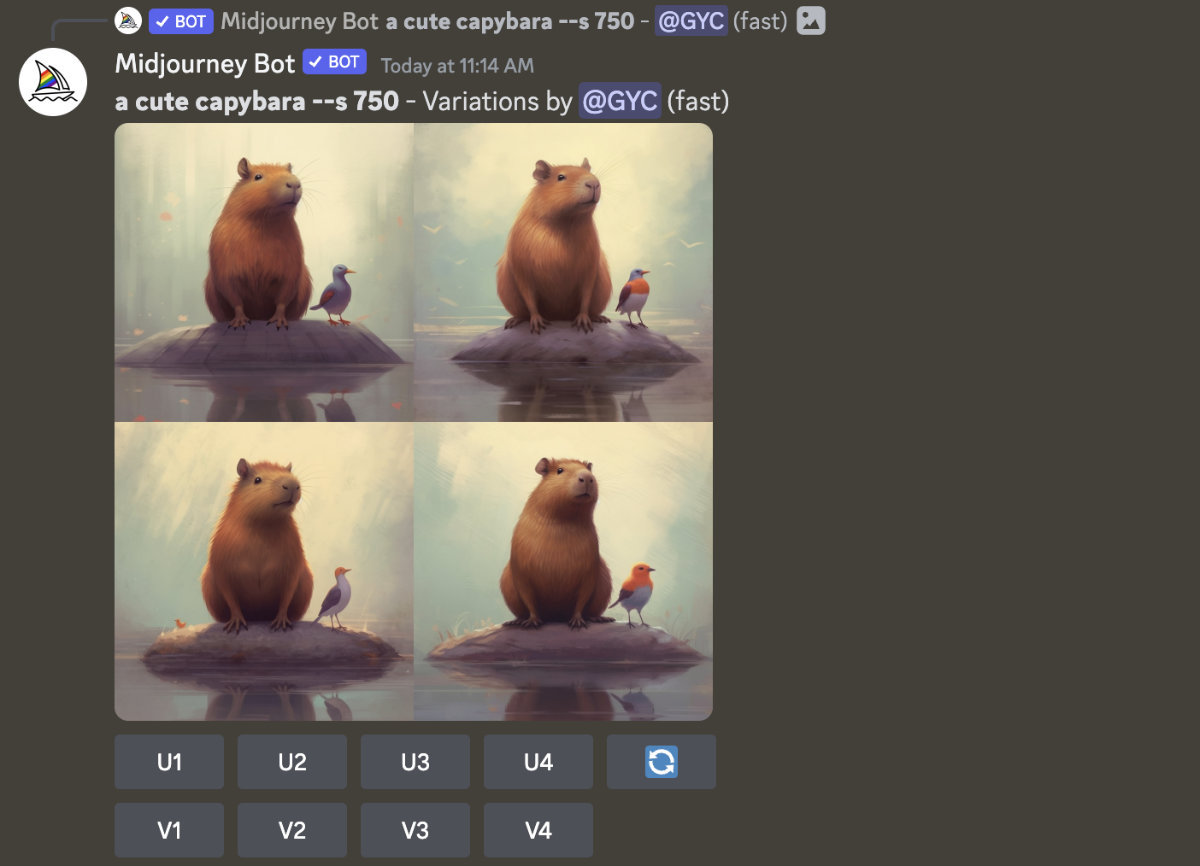
Every time you submit a prompt, Midjourney will present you with four variations of the image based on your prompt. After generating, you will see some buttons below the generated images:
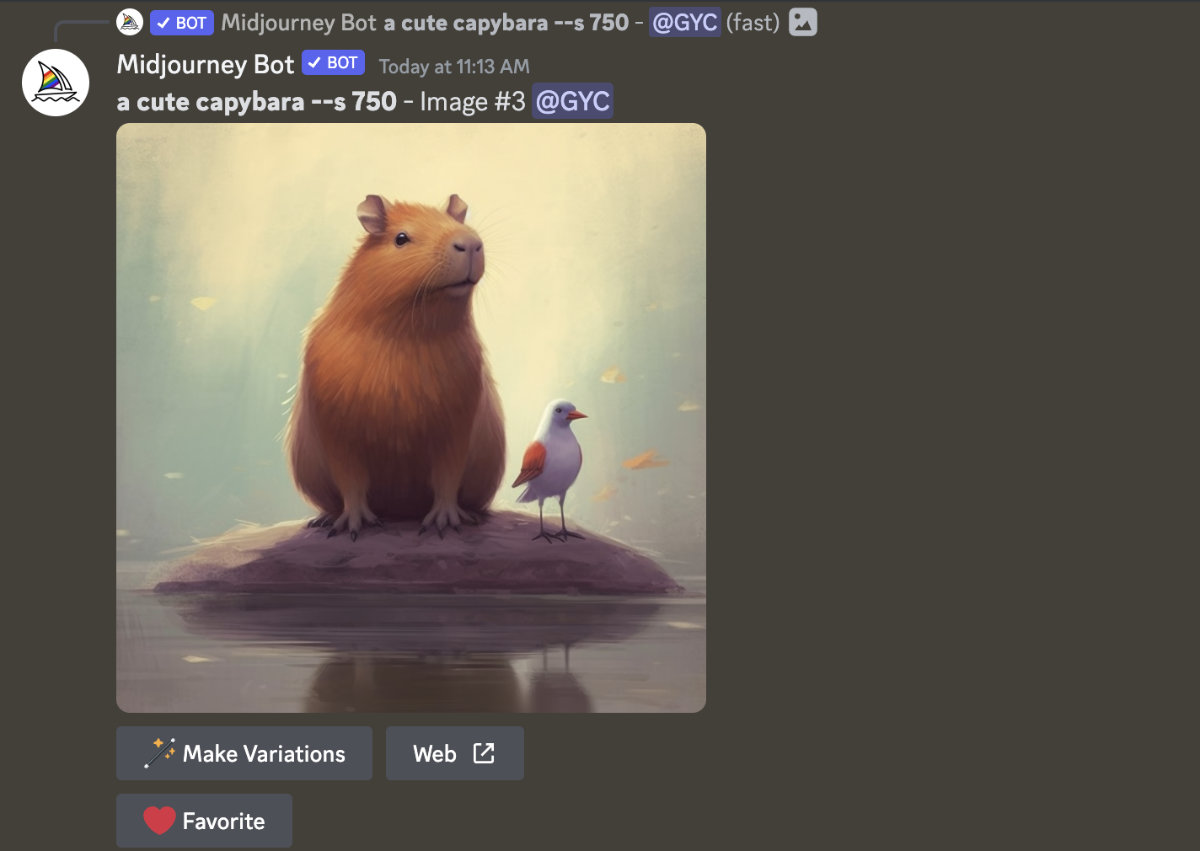
- Upscale an image: This will increase the resolution of a particular image to 1024 x 1024 pixels. Simply click the corresponding U button to do this. (Top left is image 1, top right is image 2, bottom left is image 3 and bottom right is image 4)
- Generate variations on an image: This will generate slight variations of a particular image. To do this, click the corresponding V button.
- Regenerate: This will ask Midjourney to generate a new set of images using the same prompt. You’ll still have access to your original set of images
Midjourney Discord Dashboard Overview
As there are many people using the #General or #Newbie channels, the images you generated could get lost easily.
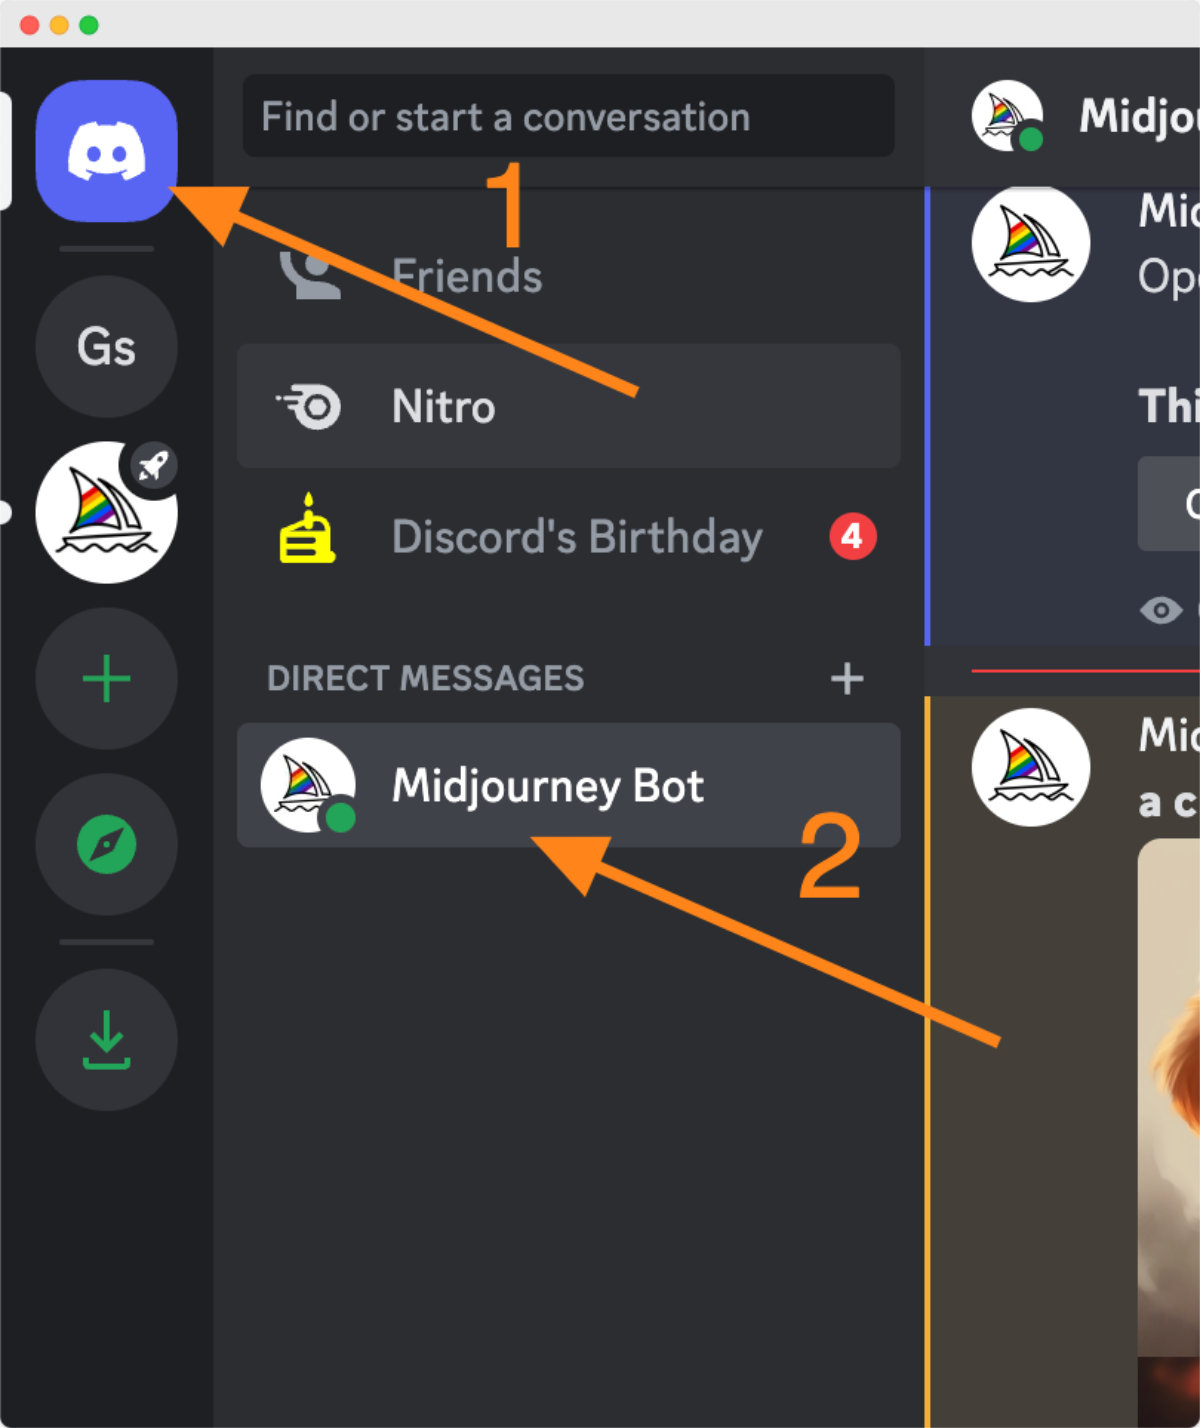
After you've sent at least one message, you can access Direct Messages with Midjourney where you can see all your generated images in one place. Click the icon on the top left of the website. And then you should see the Midjourney bot listed in your Direct Messages.
Images you generate here will still be visible on the Midjourney website, but the Direct Messages area offers a convenient way to access everything you've generated in one place, instead of having to find them in a public server.