We will learn how to use Canva and Corjl by making a simple quote print. Or click here to copy my Canva template designs.
Creating Designs On Canva
Now let’s head to Canva and design our first template! We will make a simple candle label design for this example so that we can learn the basics of using Canva.
You can start by clicking the ‘Create a design’ button at the top right of your dashboard. Search the template that you want to create. In this example, we will start with a square product label. Check your competition on Etsy and see what sizes are popular for the design you want to make. For candle label, popular sizes include 2", 2.5" and 3".

Once you're in the Canva designer, rename your template design at the top of the designer. It’s good practice to keep your designs organised.
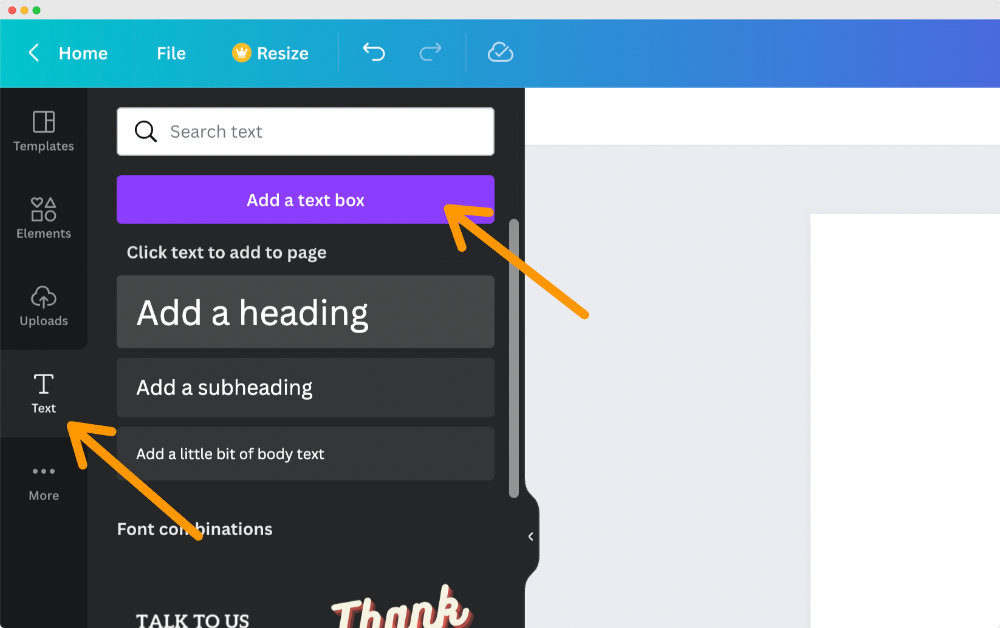
Add text by clicking the ‘Text’ on the left and ‘Add a text box’. You can also drag in a text box by dragging the 'add a heading', 'add a subheading', etc.
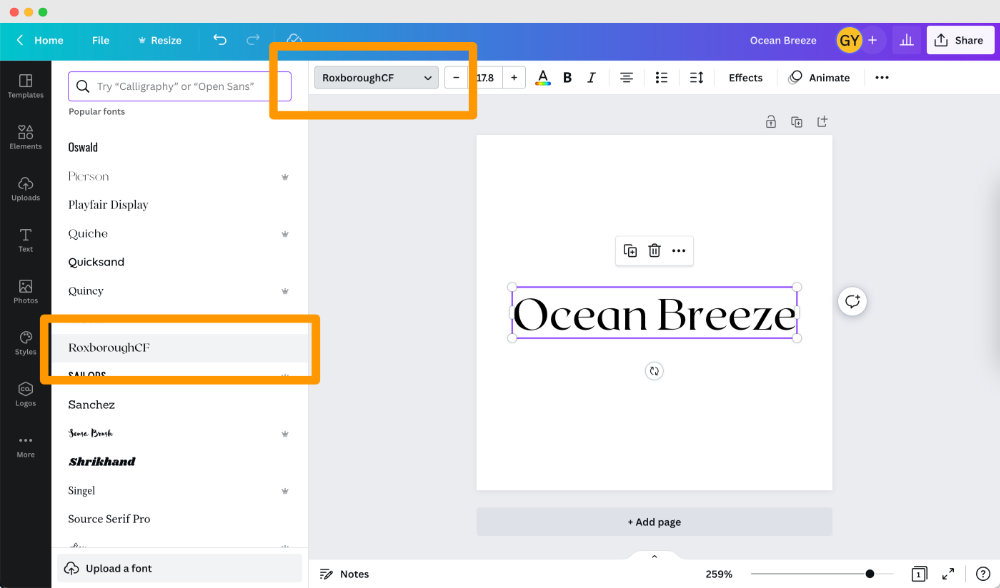
You can then change the font by clicking here. I would recommend pairing one stand out font (something from the 'Display', 'Headings', or 'Handwritten' category would work well) with a simple font (something from 'sans serif' and 'rounded' like Nunito, Lato, Montserrat are great).
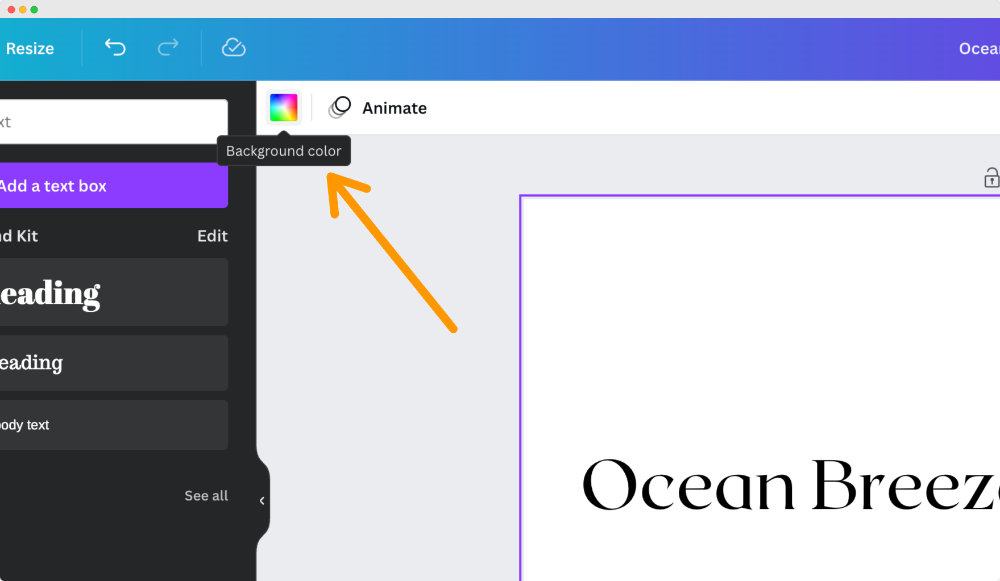
You can change the background colour of your template by click the white area of your template, then the rainbow colour box at the top left above your design. I use sites like Colorhunt for colour inspirations.
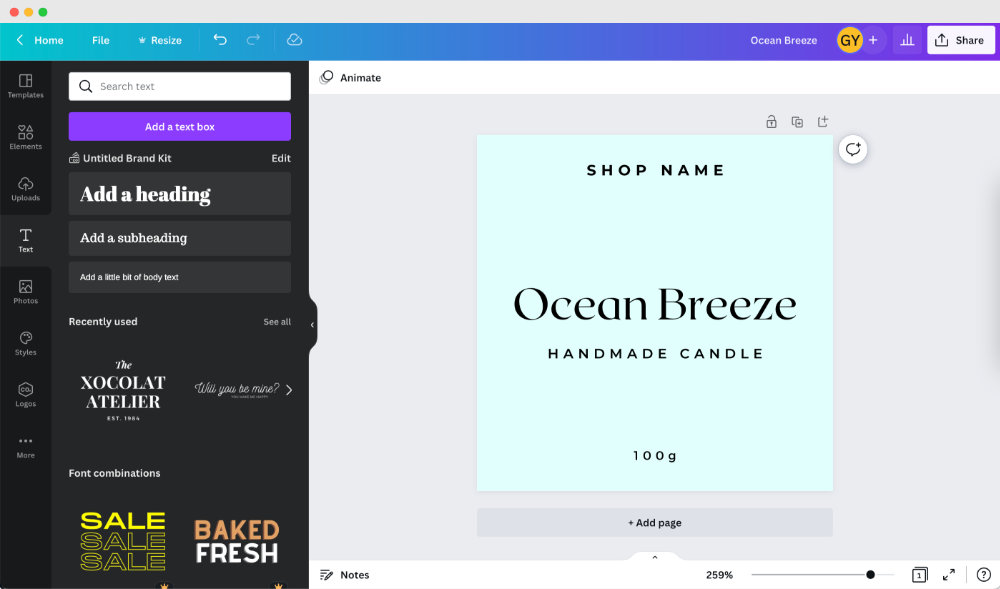
After changing the background colour and adding some extra text, here's what the template looks like:
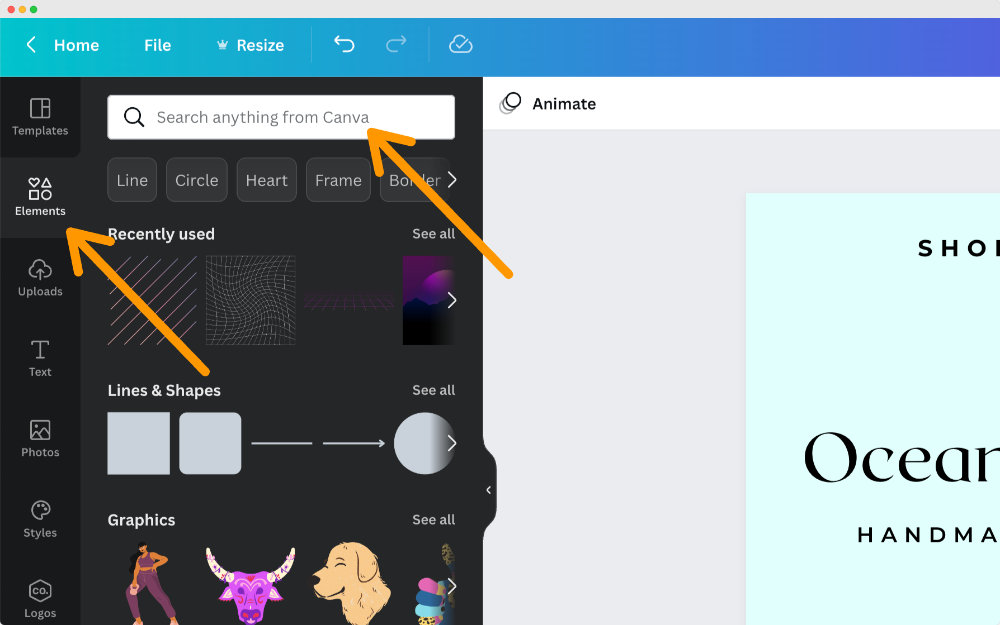
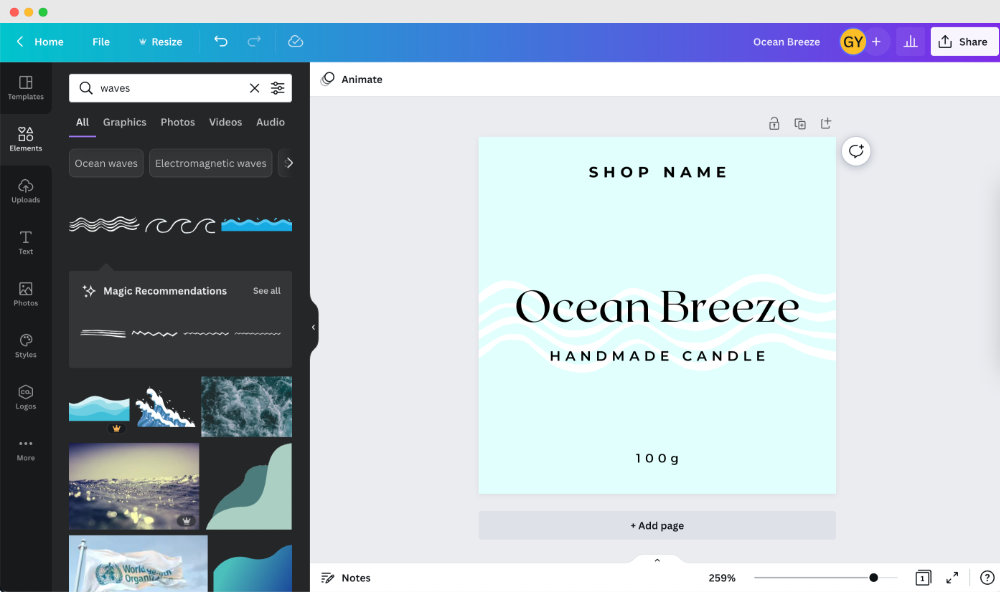
To add extra elements to your design, click "Elements" and then browse or search for designs. Because this candle is ocean themed, it makes sense to add some wave graphic to the design. Keep in mind to use only free graphics because customers without a Canva Pro account won't be able to use Pro graphics without paying extra.
Here I added abstract waves to the template. You can change the colour by clicking on the element and then click the rainbow box on the top left corner. To put behind the text, right click the element and click 'send to back'.
Editing Advanced Designs From My Canva Template Library
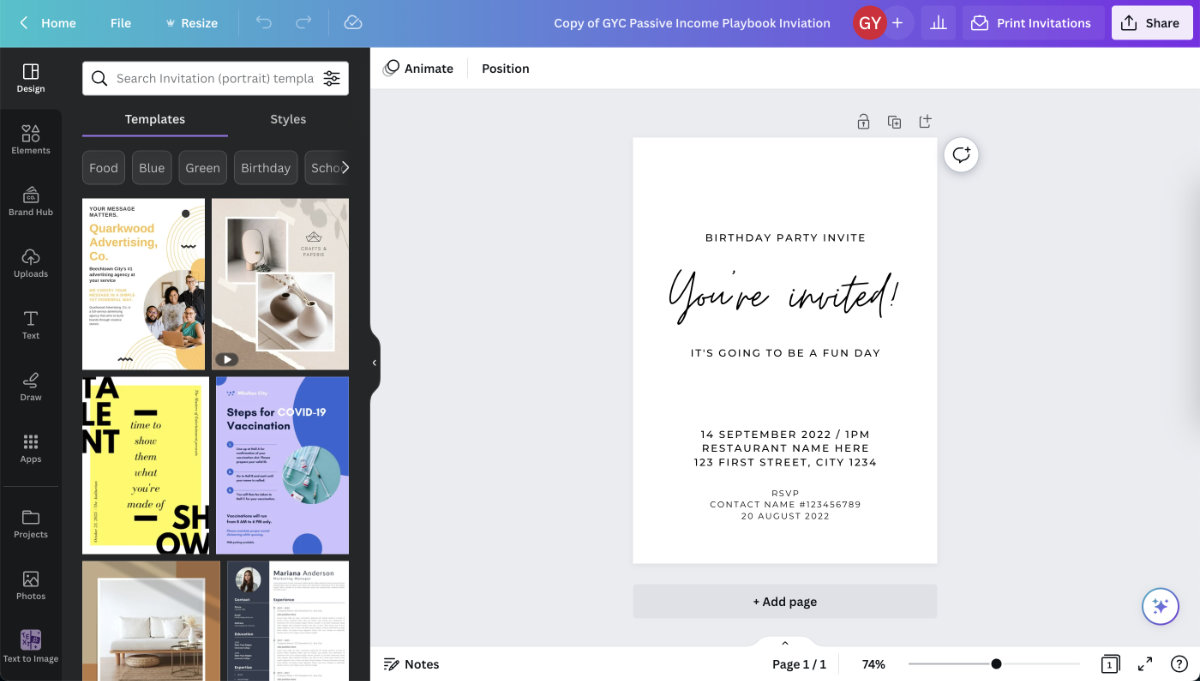
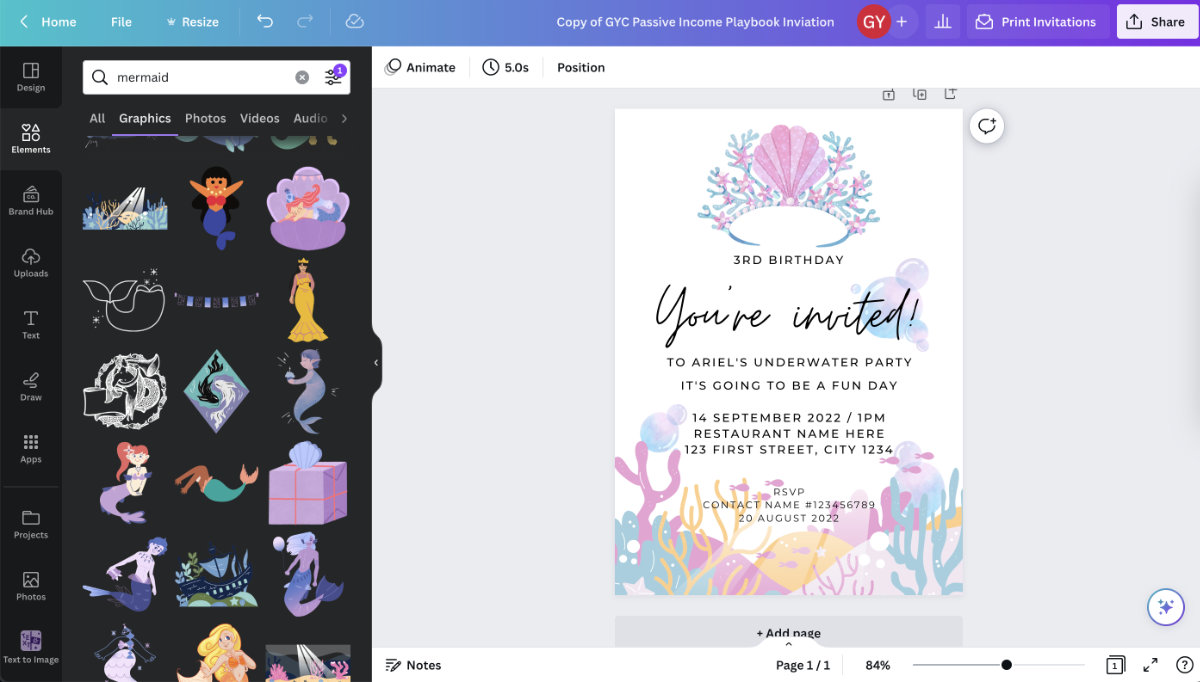
Now that you are more familiar with the basics of Canva. I'll turn this party invitation template from my Canva template library into a sellable, mermaid themed birthday invite:
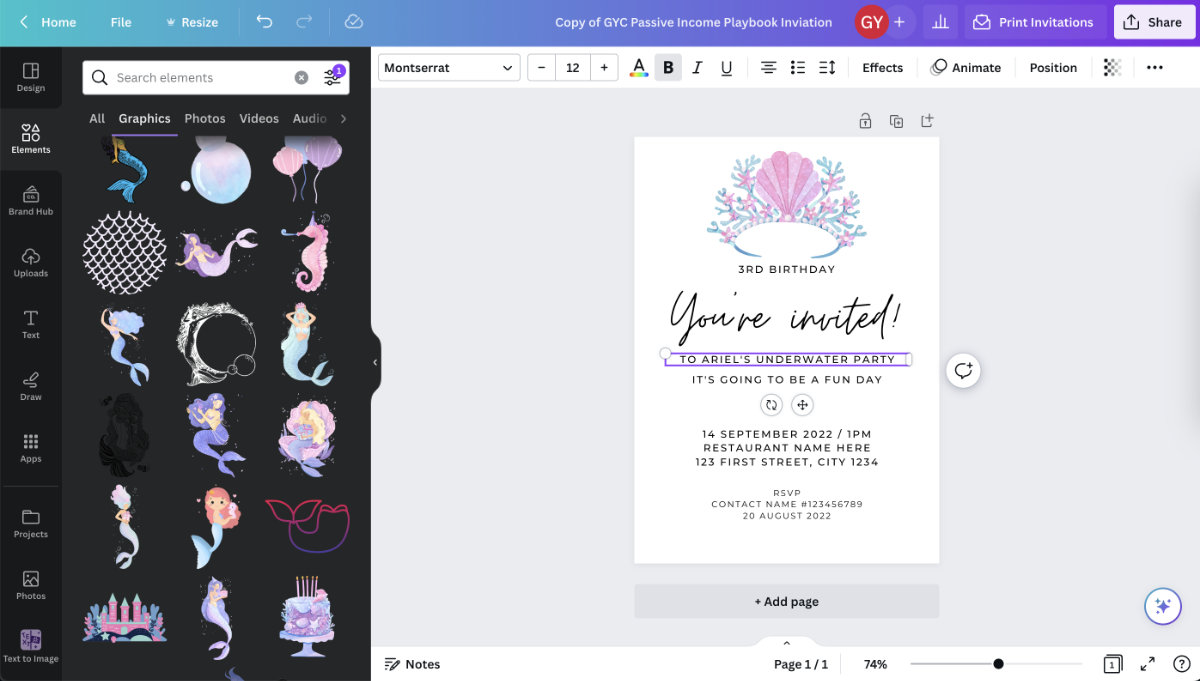
Once you've decided on the theme and your target customer, you can find the relevant graphics and adjust some of the text so that they appeal to your customers more. Here I searched "mermaid" in the graphics section and chose this crown as the main graphic. I also added text that relates to what the customers are looking for "3rd birthday party" "Ariel's underwater party".
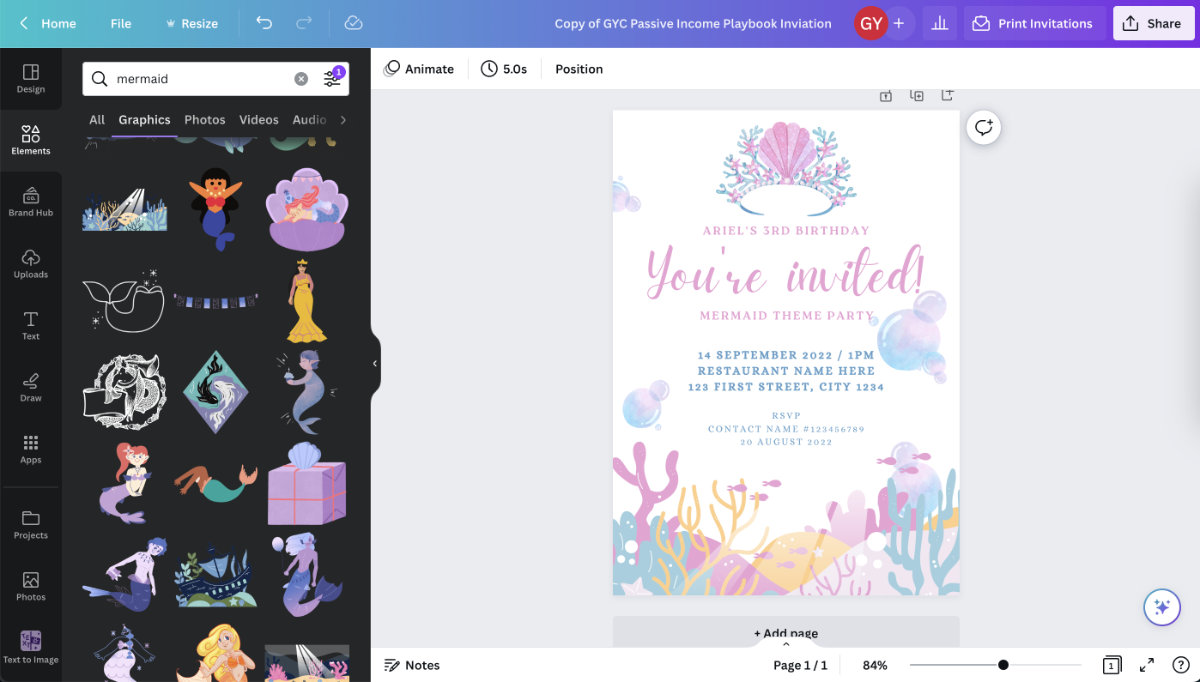
After that, I found more related graphics to add to the template. A sea floor or waves would be appropriate for the bottom of this template. Some extra small elements would be beneficial as well to make the template more interesting without distracting from the main graphics and text. Here I used some bubbles. Note that all the bubbles are actually the same graphic; I change the size, rotate them and flip them to make them more natural looking:
If you feel like the font doesn't match the vibe of the design, explore different options. For example, I've changed the fonts to match this youthful and playful design. Another great tip is to change the colours of the text using the same colours as the elements. You can do that by clicking the colours under "Photo colors" on the left menu.

I noticed that the bubble on the right hand side of the template overlaps from the main text "You're invited". So I've moved it away from the text to avoid distraction. I've also added some extra bubbles on the top left of the design as there's a lot of white space.
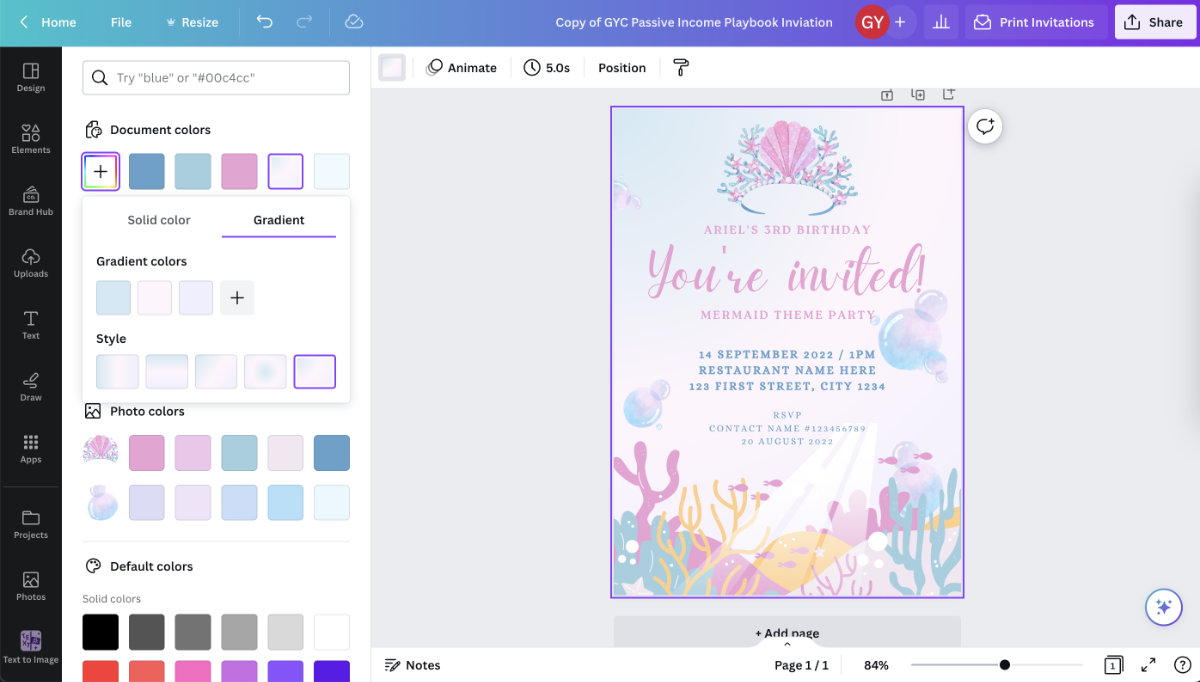
Finally, I've changed the background to a gradient background. For the colours of the gradient, I first chose the colours from the graphics, then I make them lighter in colour and saturation (more towards towards the top left of the colour picker panel) so that the text and graphics still stand out:
Repeat the process to create more templates on Canva. Feel free to copy the designs from my Canva template library here. Once you’ve made a few beautiful designs, we can move on to the next steps. We will learn how to deliver your Canva design to your customers in the chapter "Setting Up Your Passive Income Etsy Shop".
Some Extra Q&A For Canva Designs
Can You Include Canva Pro Elements In Your Design?
You can include Canva Pro elements as long as the template you sell bring customers back to Canva. However, if your customers don’t have a Canva Pro account, they will need to pay $1 to unlock each of the Pro elements. This unexpected fee may cause dissatisfaction in customers. That’s why I recommend using only free Canva elements in most cases.
You cannot use Canva Pro elements on non-template designs like PDF. For example, if you are planning to sell an ebook that your customers can't edit further (i.e. customers are not going back to Canva), you can't use Pro elements.
Can I Sell Canva Templates For Commercial Use?
As long as you create your own original design using Canva’s free graphics and content (fonts, elements photos, etc), then you can sell your template for both commercial and non-commercial use. You are not allow to copy and resell templates you find on Canva.
Be extra careful of images that you get from stock photos site. Because even though they are free for you to use, the licenses may not allow you to upload the images to a platform like Canva.
Do I Need A Canva Pro Account To Sell Templates
Contrary to many Canva template guides online, you don’t need a Canva Pro account to sell templates on Etsy. You are able to get the ‘template links’ even with a free account.
That being said, there are some benefits for Canva Pro (free trial here) if you decide to have a template shop:
- Resize template with one click so you can quickly create new designs using similar fonts and elements
- Set up brand colour and fonts so that you can create a consistent look to your templates
- More cloud storage so you can scale your shop with more designs (5gb in the free plan vs 1tb/1,000gb in Pro plan)
- Schedule and plan social media posts ahead of time which is great for your shop’s marketing in the future
- Access to more fonts and graphic elements
Can You Use Graphics & Elements In Your Design As-Is?
To sell a product using Canva Content, you must create an original design by combining the content with other design elements. You cannot sell Canva Content on a standalone basis, such as using a single element from the Canva library with minimal changes. And that applies to stock content like clipart where the graphic is taken directly from Canva.
Can I Use Canva Graphics For Print-On-Demand Designs?
Yes, you can use Canva graphics for print-on-demand (POD) designs as long as you have the right to use them. While you don't own the copyrights to the graphics and fonts used in Canva, print-on-demand services like Printify and Printful allow you to upload Canva designs as you have the right to use it (you designed and made meaningful changes to it).
Creating Designs On Corjl
Signup to Corjl.com, go to their designer platform and click 'Create New Design'.

Name your design and then scroll down
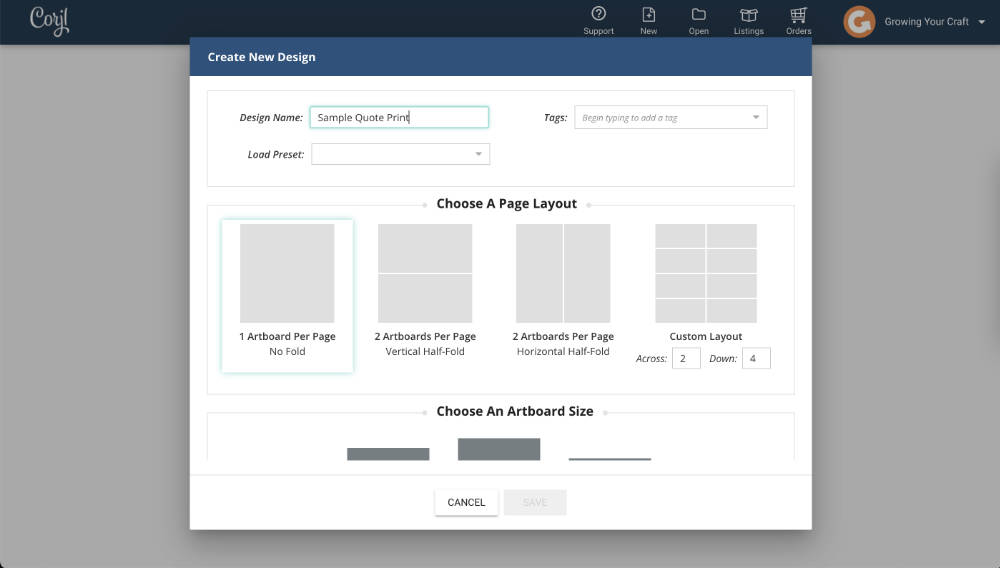
Choose the size of your design. Here I chose a 5" x 7" design. You can also type in your custom size at the bottom.

Click 'Fonts' and then 'Font Gallery' to choose the fonts you want to use for your design.

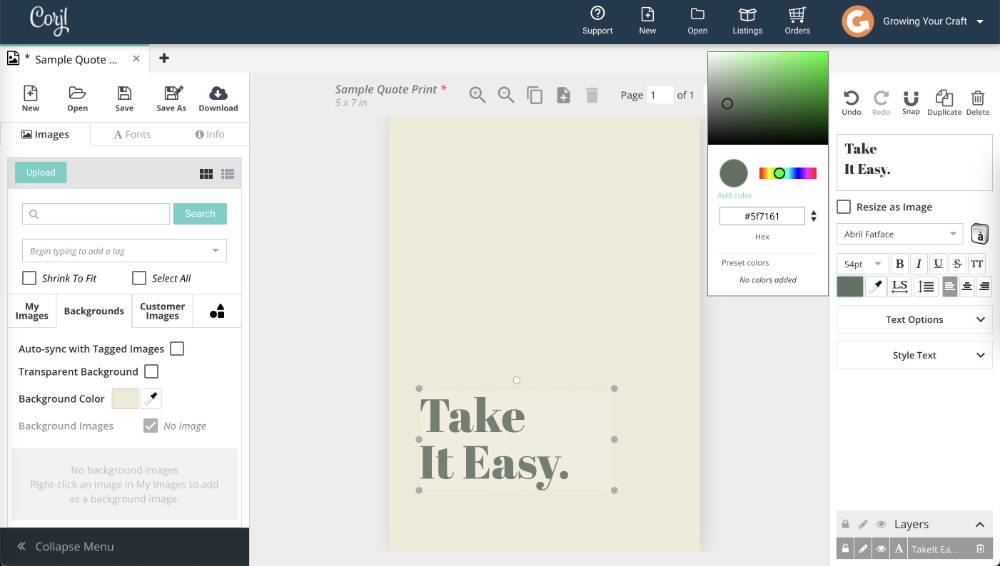
Drag in the font you want to use from the list and type in your text. In this case, I've typed in "Take It Easy" and put it to left align.

I've then changed the colours of the text (click the text and then control the colour on the right) and the background ('Images' > 'Backgrounds' > 'Background Color')
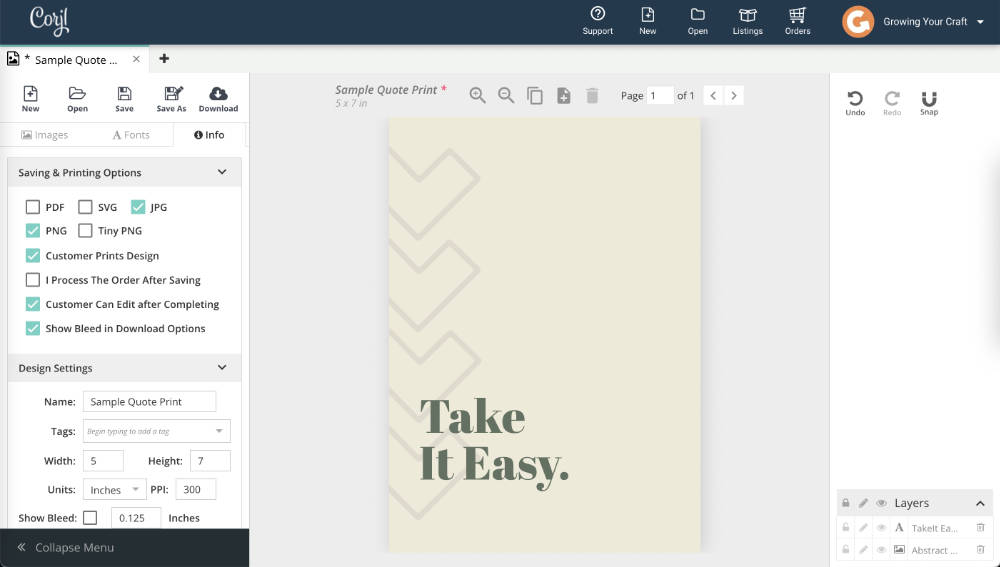
Under 'Images' and the right-most tab, you can find their graphic elements to add to your design. I've added this chevron element and turn the opacity down. When you feel like it's finished, save the design on the left-hand side.

Under 'Info', you can find more controls including the file format your customers can download and changing the canvas size. (Download a JPG or PNG file to create your product photo in later steps)
We will learn how to link your Corjl design to your Etsy shop in the chapter "Setting Up Your Passive Income Etsy Shop".